
IN SHORT
- Four parts: every raw trace mixes real binding, a jump from the sample liquid itself (bulk effect), unwanted sticking, and slow drift.
- Double referencing: subtract the reference channel, read within the same ~1 s cycle (TN-03: Lensless optics and wavelength readout), then a buffer-only run. What is left is binding.
- Before you start: match every sample to the running buffer, and give a new chip time to settle.
Overview
The trace from a sample channel is never binding alone.
This note takes the raw signal apart, shows how referencing removes what you don’t want, and covers the two hardest cases: buffer mismatch and complex samples.
1 · WHAT’S IN A RAW TRACE
What’s in a raw trace
Every sample channel records the sum of four things: the specific binding you want, and three things you don’t.

| Component | What causes it | How to remove it |
|---|---|---|
| Specific binding | Your analyte binding your ligand | That’s the signal you keep |
| Bulk effect | The sample’s refractive index differs from the running buffer | Reference channel, buffer matching |
| Drift | Temperature, the surface settling, slow loss of captured ligand | Equilibration, blanks |
| Non-specific binding | Other molecules sticking to the surface | Blocking, low-fouling surfaces, a reference surface |
2 · REFERENCING
Referencing, in two steps
Step 1, the reference channel. One channel carries a surface without your ligand, or with an irrelevant protein, and sees the same sample. Subtracting it removes the bulk effect, shared drift and much of the non-specific binding. On our instruments every channel shares the same optical block and geometry, so the reference sees exactly what the samples see (TN-03: Lensless optics and wavelength readout).
Step 2, buffer blanks. Inject running buffer as if it were a sample, a few times through the run. Subtracting these blank injections, after the reference, removes what’s left of the injection artefacts and systematic drift. Together the two steps are called double referencing.

3 · THE BULK EFFECT
Match your buffers
A small difference in buffer composition can produce a larger signal than real binding, especially for small molecules (TN-07: Designing a binding experiment).
DMSO. Compounds dissolved in DMSO shift the signal strongly if the sample and running buffer contain different amounts. Keep the DMSO concentration identical in every sample and in the running buffer, and run a short DMSO calibration series if it varies.
Glycerol and salt. Protein storage buffers often contain glycerol. Carried into the sample, it shows up in every channel at once, which can look like binding. Our protein–protein screening note shows exactly this, solved by buffer exchange.
The rule. Dilute samples into running buffer, or exchange them into it.
4 · NON-SPECIFIC BINDING
Non-specific binding
Block unused reactive groups after coupling (TN-06: The binding surface).
Use a low-fouling surface when the sample is crude: peptide monolayers, such as AffiCoat, strongly reduce protein adsorption from serum.
Use a matched reference surface: the same chemistry, with an irrelevant protein in place of your ligand, catches what sticks to “a protein-coated surface”, not just to bare chemistry.

5 · DRIFT
Drift
After inserting a chip, or changing buffer, the baseline drifts while temperature and the surface settle. Start measuring once the baseline is flat. A drift test on a new chip, buffer only, tells you how long that takes on your setup.
6 · COMPLEX SAMPLES
Complex samples
Serum, plasma, lysate and culture media are full of proteins that can stick, and their refractive index differs from buffer.
Dilute where the assay allows, and match the running buffer to the diluted matrix. Use low-fouling surfaces and a matched reference (sections 4 and 2).
Remove what you can before the sensor. For whole blood, a plasma-separation chip placed in front of a P4SPR let biomarkers be measured from blood.
Related
TECH NOTE · TN-04
Where the precision comes from
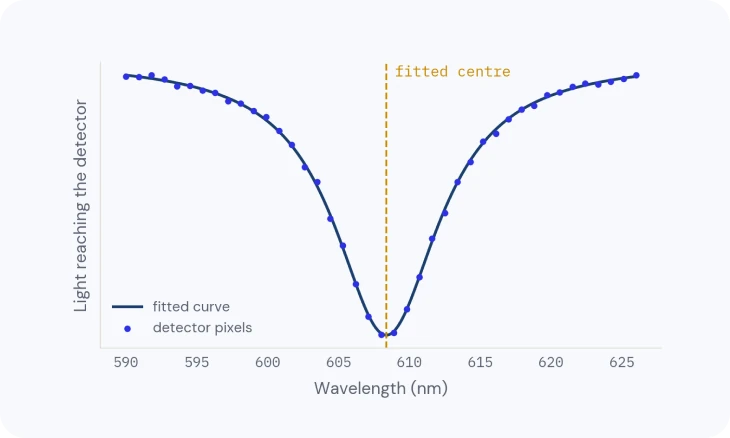
How the dip is located more finely than one pixel, and what sets the smallest shift you can see.
TECH NOTE · TN-06
The binding surface
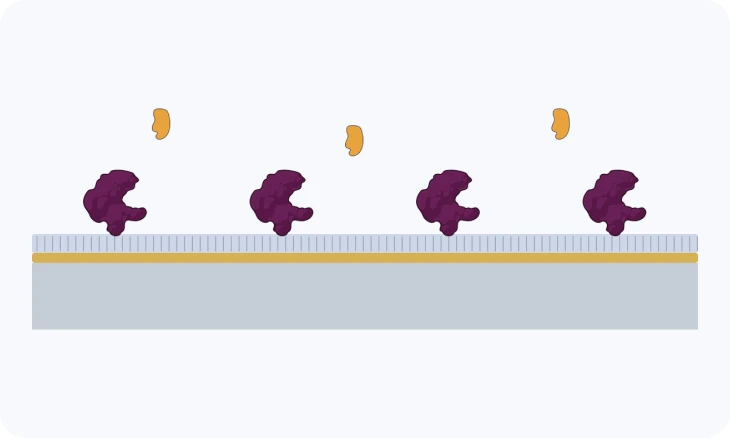
Surface chemistries, coupling and capture, and how to choose one for your molecule.
TECH NOTE · TN-10
From sensorgram to answer
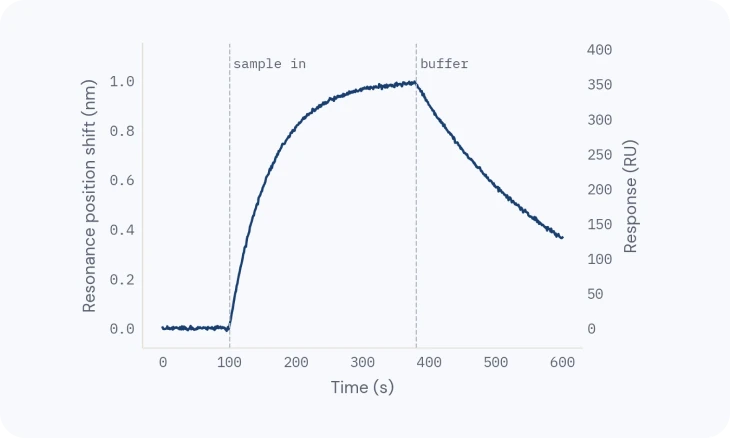
Reading the curve, then affinity, kinetics and active concentration you can trust.